Beverly Hills Adult School Fraktur Class #7: Today DeAnn helped students with their illuminated manuscript projects in progress. We have one more week of class left, so try to get as much done as possible. If you can do the gilding and the writing of the text this week, you can work on the detailed painting next week.
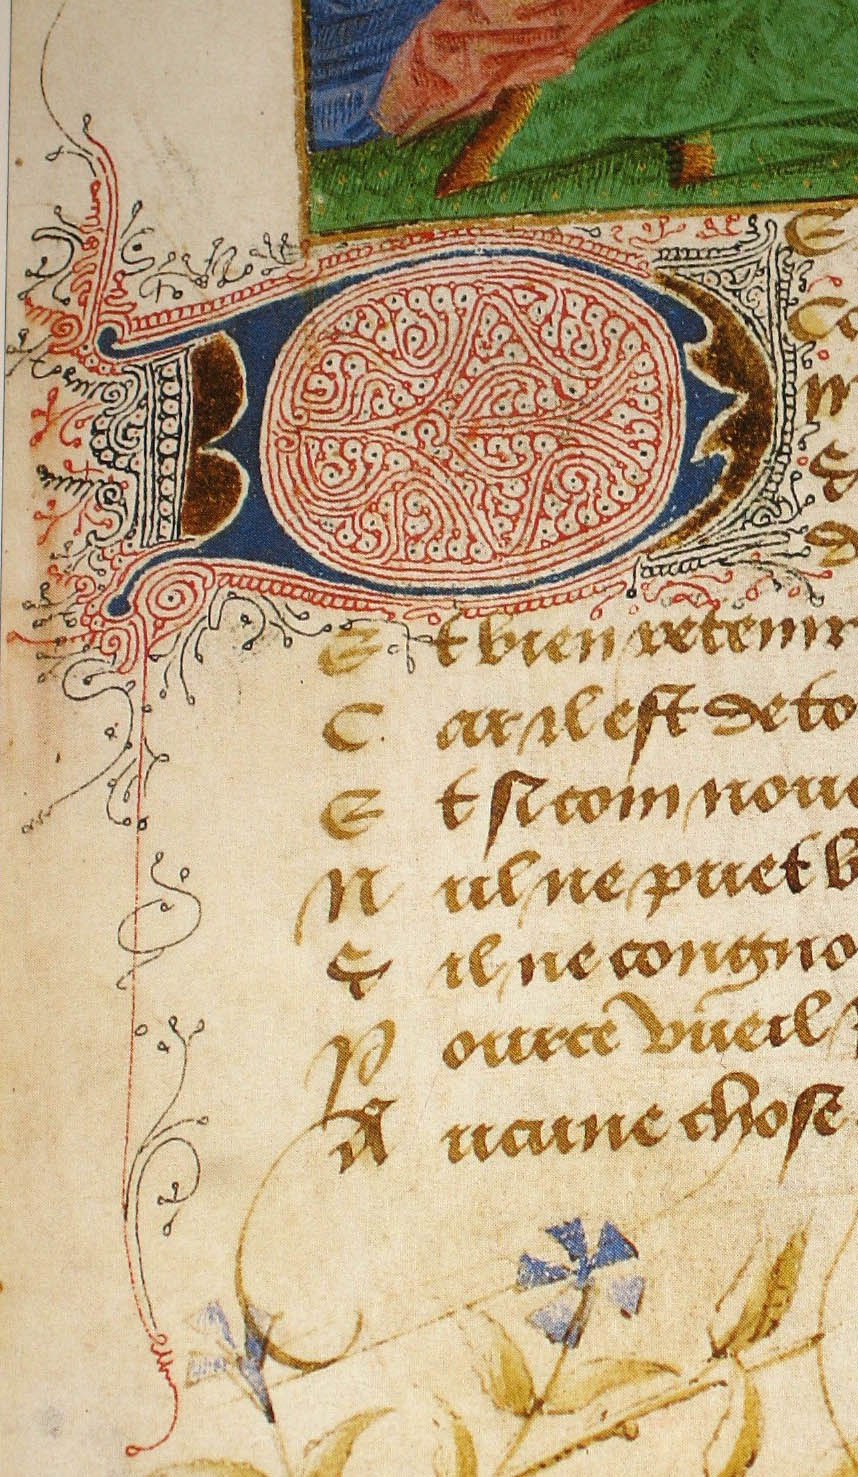
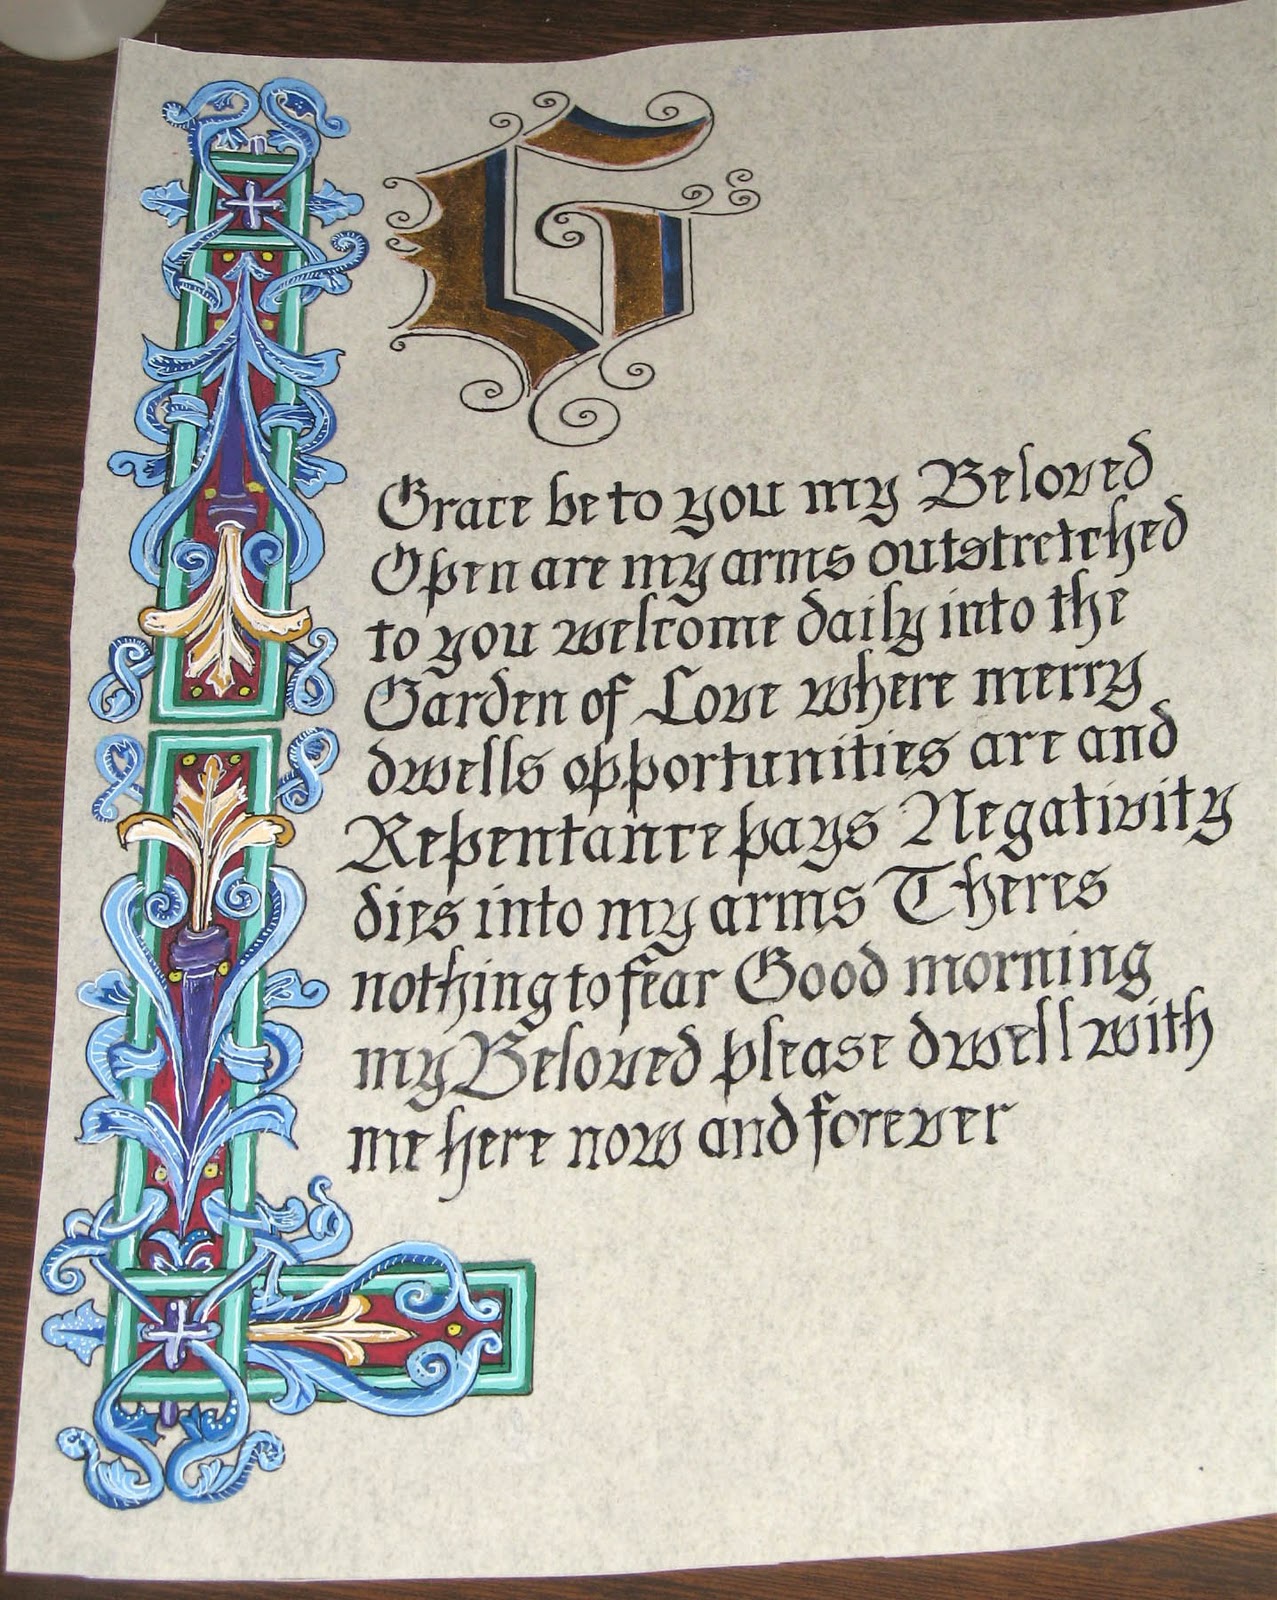
Satomi brought in her framed illuminated manuscript project from several years ago.
 |
| Detail of Satomi's illuminated manuscript project from 2003 |
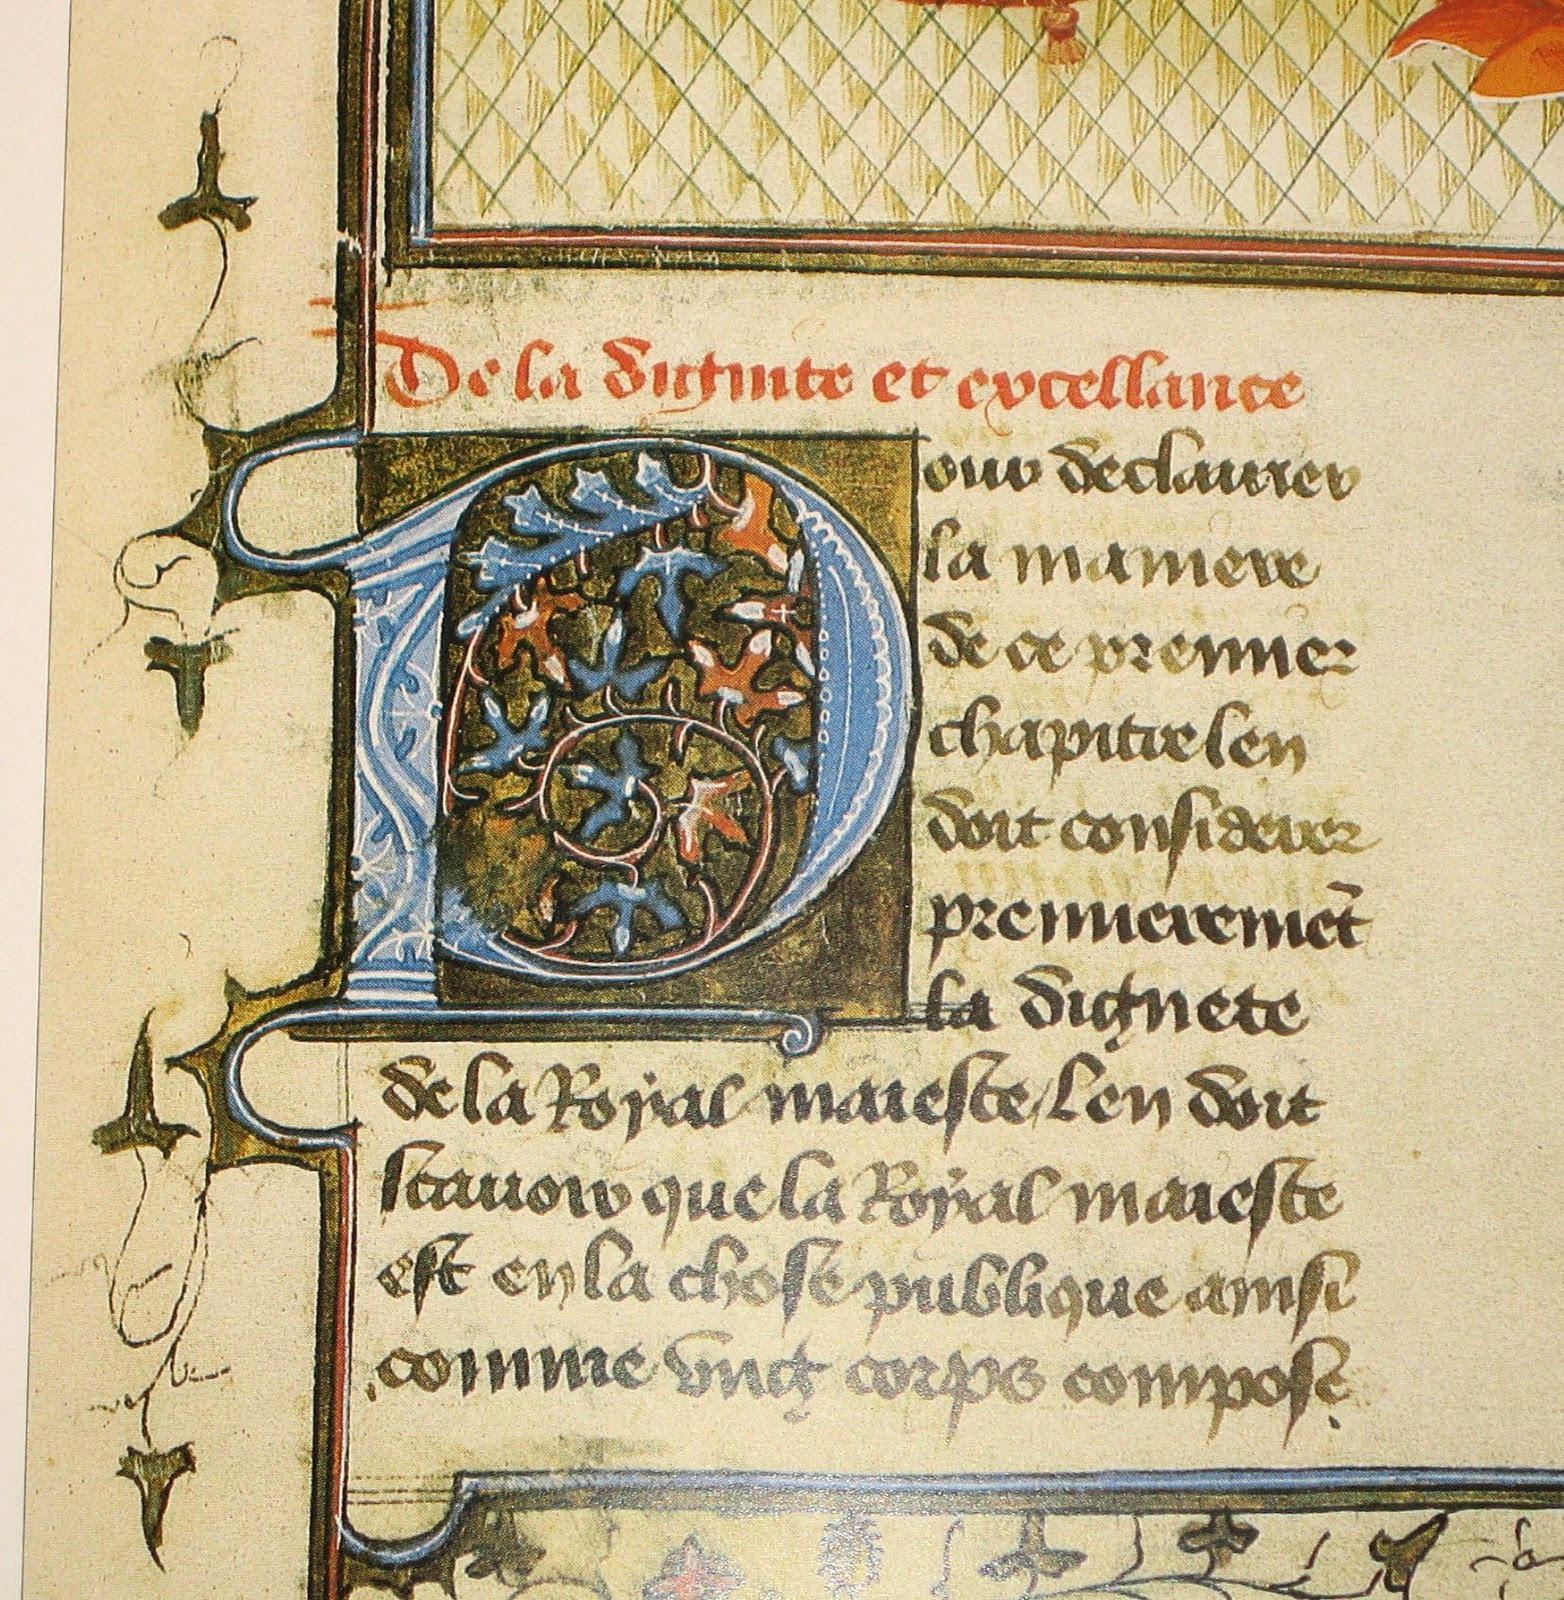
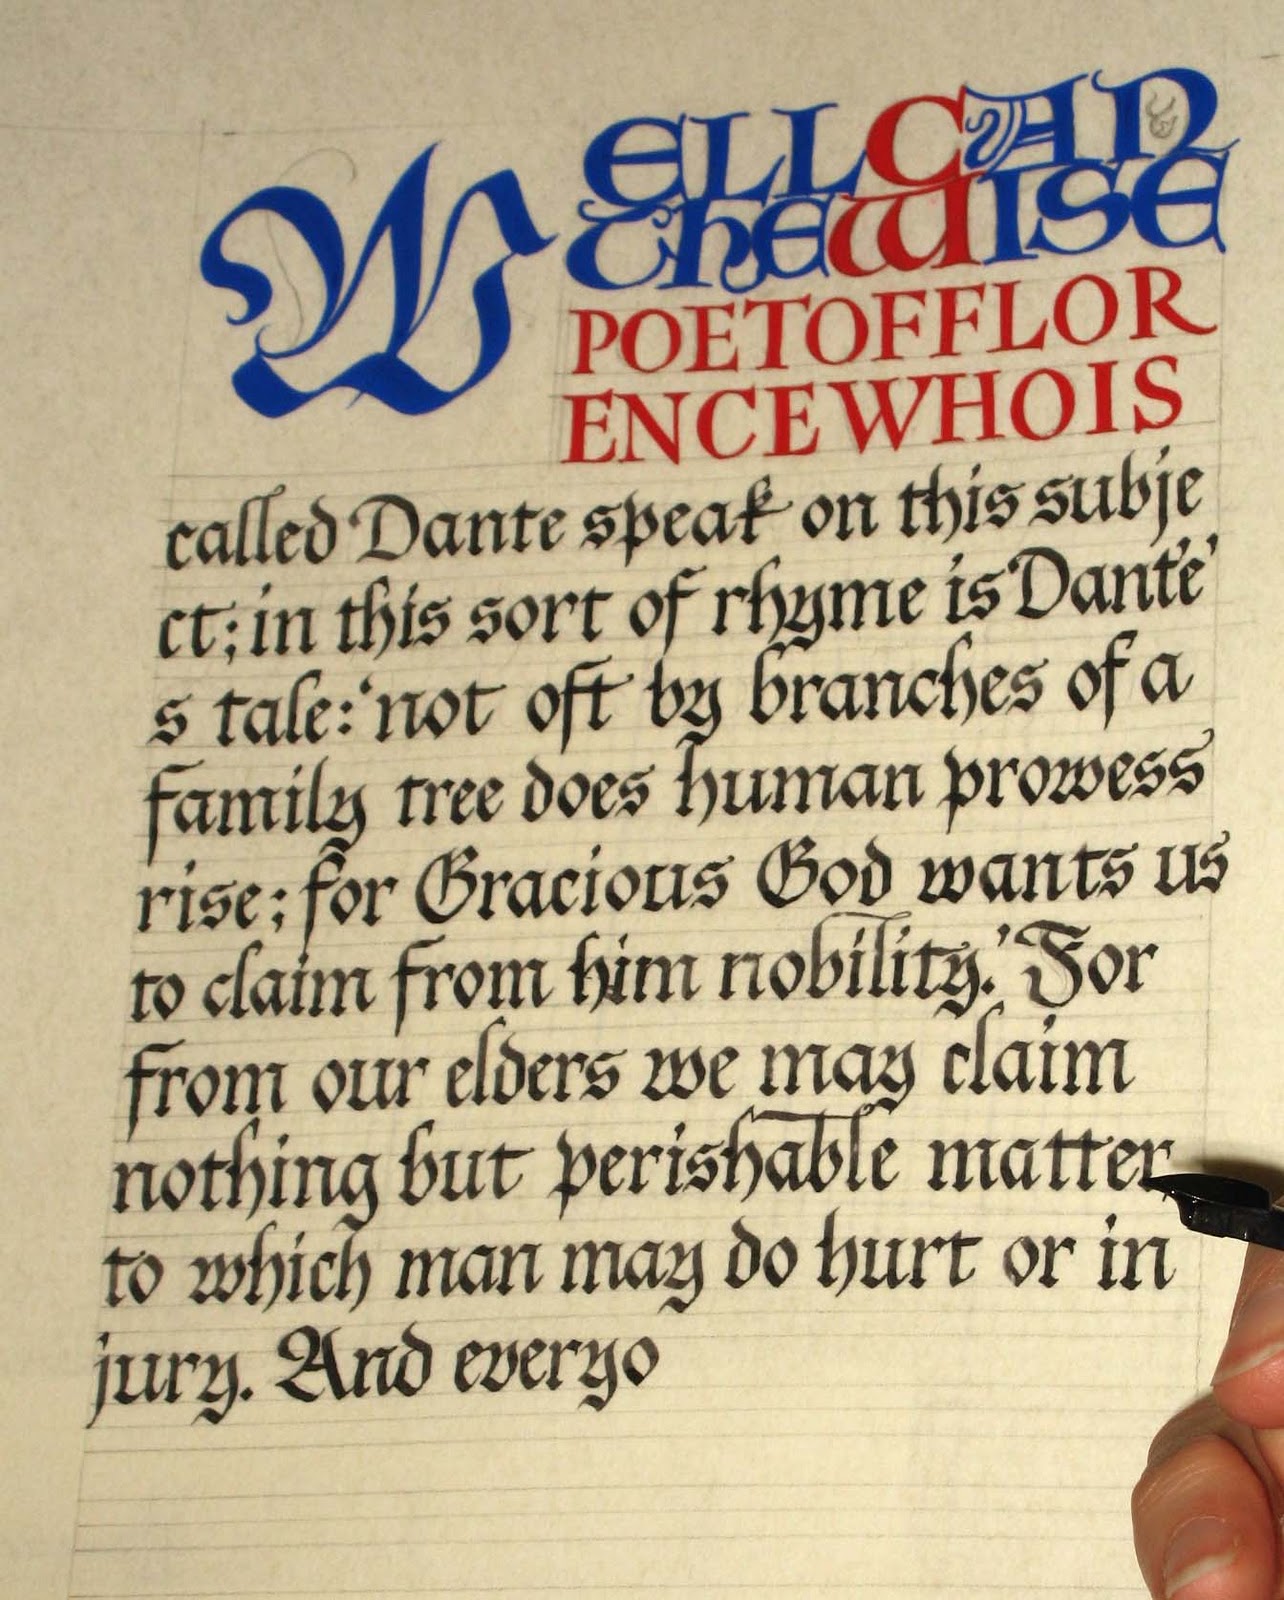
Here’s Kelly’s work in progress. She's written her text and traced her design. Next is gilding the decorative capital.
 |
| Kelly's project-in-progress |
TIP from ElizabethClare: DON’T wash off the gouache with water. Water will crinkle the pergamenata. You can’t iron it flat.
 |
| Water has wrinkled the pergamenata |
Beware of using composite gold, not real patent gold. Composite gold needs a different sizing, the sobo-glue adhesive isn’t sticky enough. If the “gold leaf” is the 5”x 5” size, then it’s not real gold. Real gold doesn’t come in that size.
 |
| Real gold on the left; "fake" gold on the right |
The real test is rubbing it between your fingers: real gold will disintegrate between your fingers but the “fake” gold will just wrinkle up and tear apart, but not turn into dust.
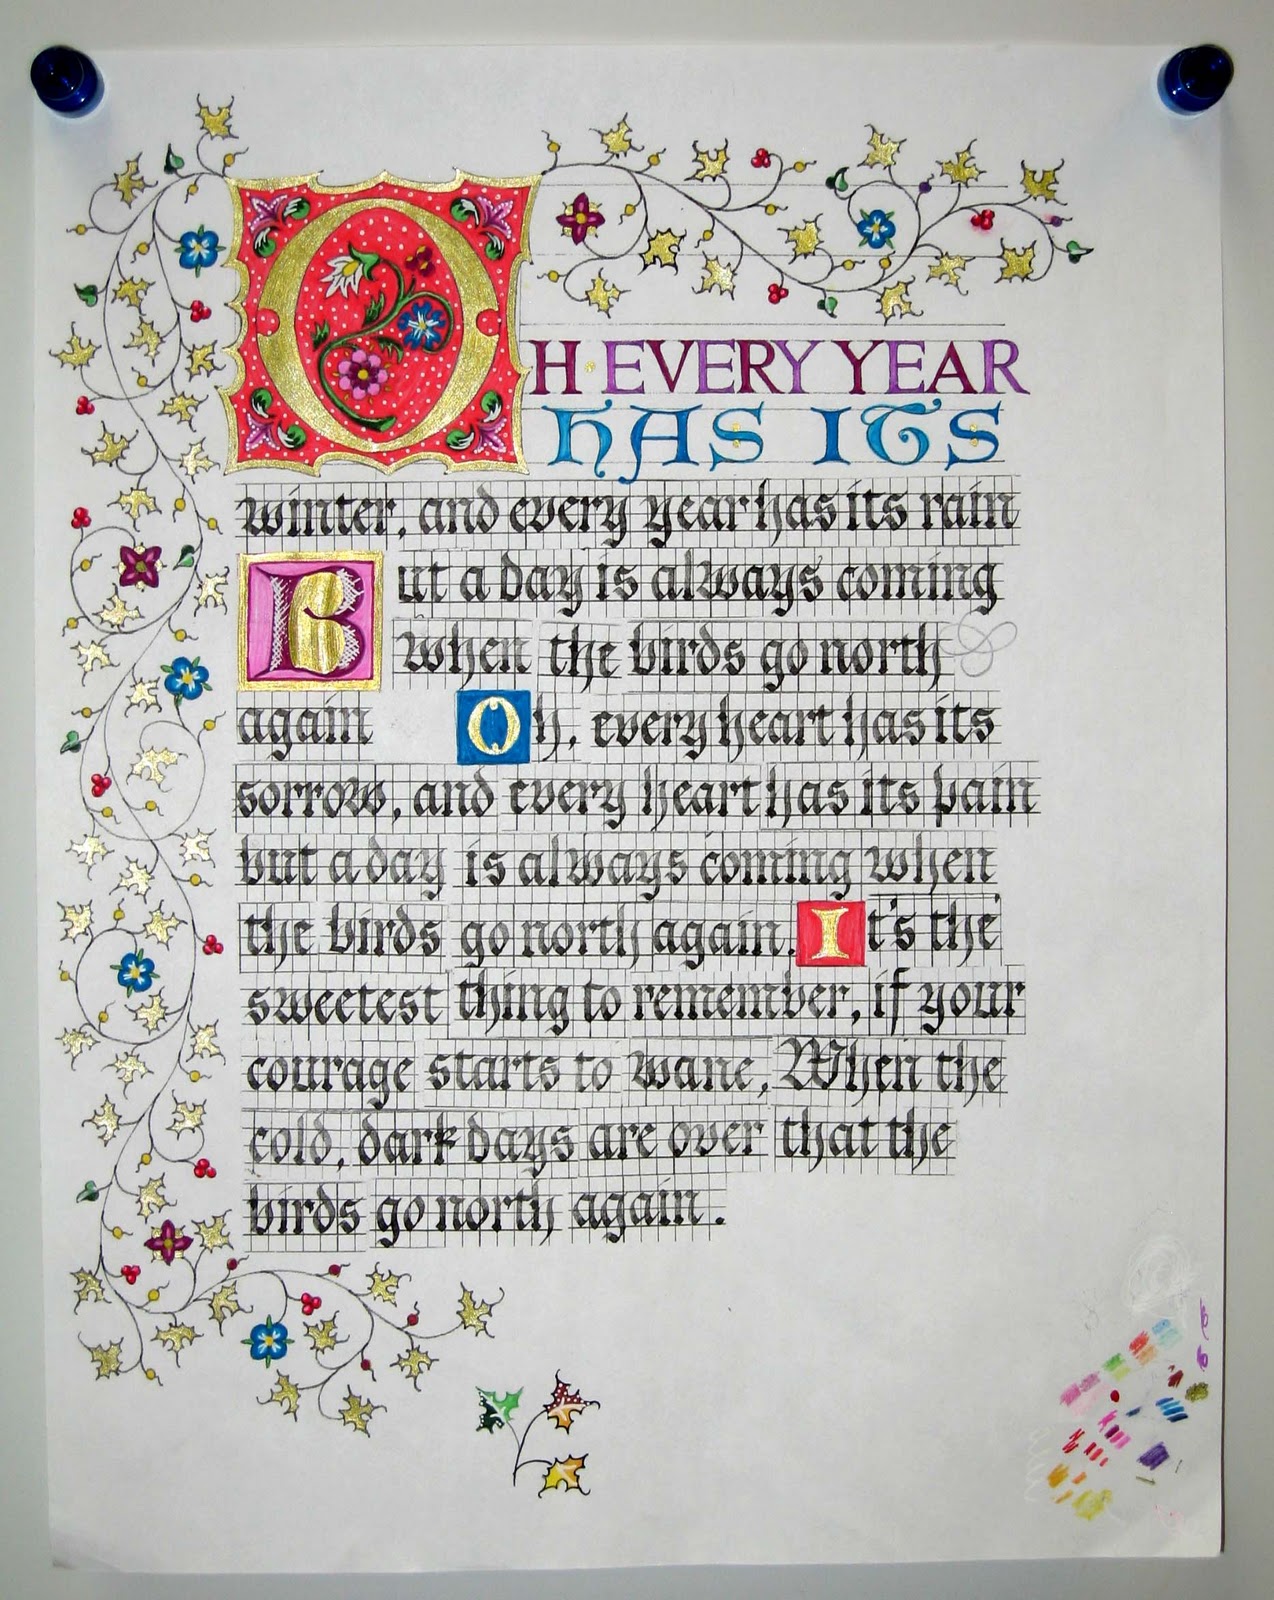
Satomi’s work-in-progress: First Satomi practiced her text on the grid paper, then cut it out to design her project. She made a paste-up of her design, where she traced the decorative capital and other decorative elements.
 |
| Satomi's paste-up layout |
 |
| Detail of her paste-up. Note how she wrote her text on grid paper. |
Then she made black and white copies so she could try different color combinations. Here’s her mock-up using markers to color.
 |
| Note how she tried different colors. |
 |
| Detail of her mock-up. |
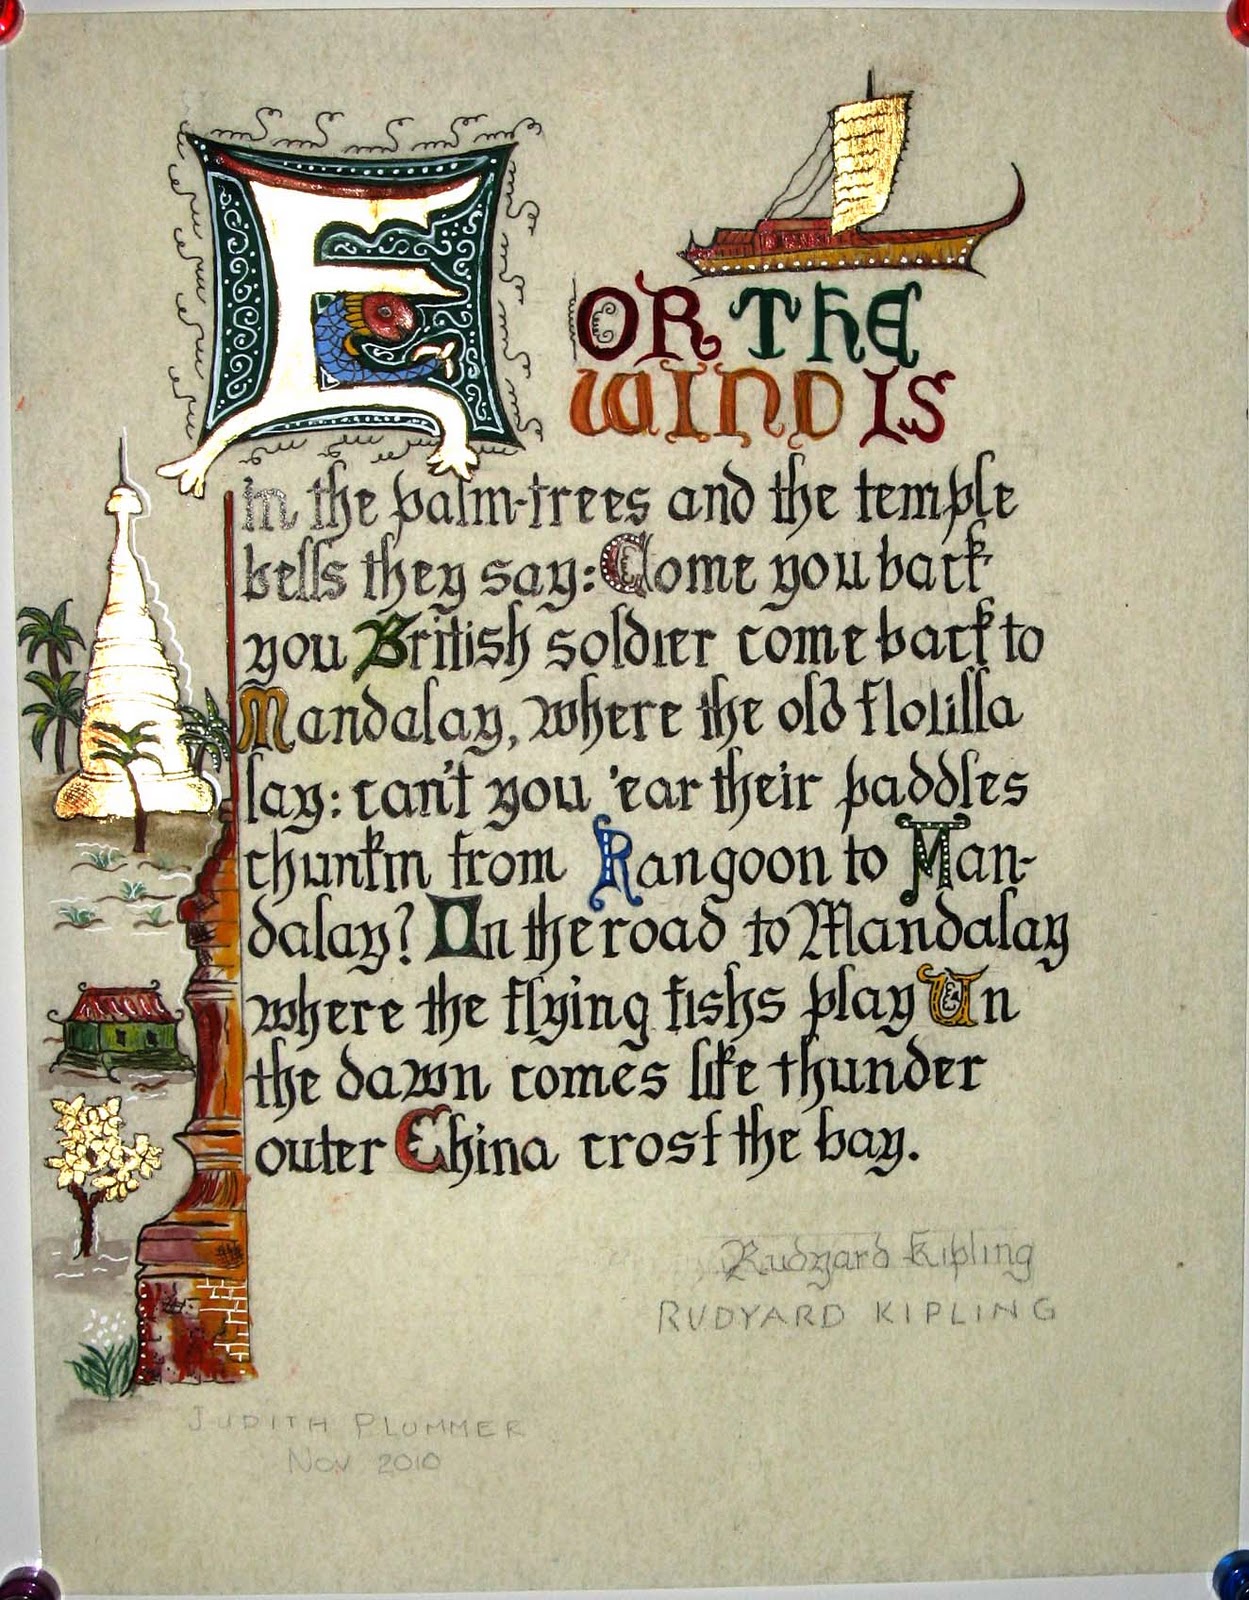
Then she traced the finalized design onto the pergamenata, including the text to prevent misspellings.
 |
| All elements are traced onto the pergamenata. |
 |
| Detail of Satomi's final design. |
Recap of the steps: For the final piece, write the text and gild the decorative capital first. Then paint the details of the decorative elements.
DeAnn says: Sometimes it’s more important to just get it done. If you wait for perfection, it could take forever (or at least a very long time). You learn from finishing a project on the “good paper” using the right materials.
TIP for avoiding smudging and fingerprints on pergamenata: Satomi uses vellum paper to cover up the borders where she has traced the decorative elements in pencil so that she won’t smudge them while writing her text. She also wears cotton gloves that have the thumb and first two fingers cut out of her writing hand to avoid getting fingerprints and hand-oil on the pergamenata.
If your pergamenata sheet does get smudgy, use DeAnn’s pounce.
Fun Palette Tip from Trini: using an empty chocolate container as your palette.
 |
| A conveniently covered palette. |
DeAnn suggests writing the text in gouache if possible. Thin the gouache with water until it’s the consistency of ink.
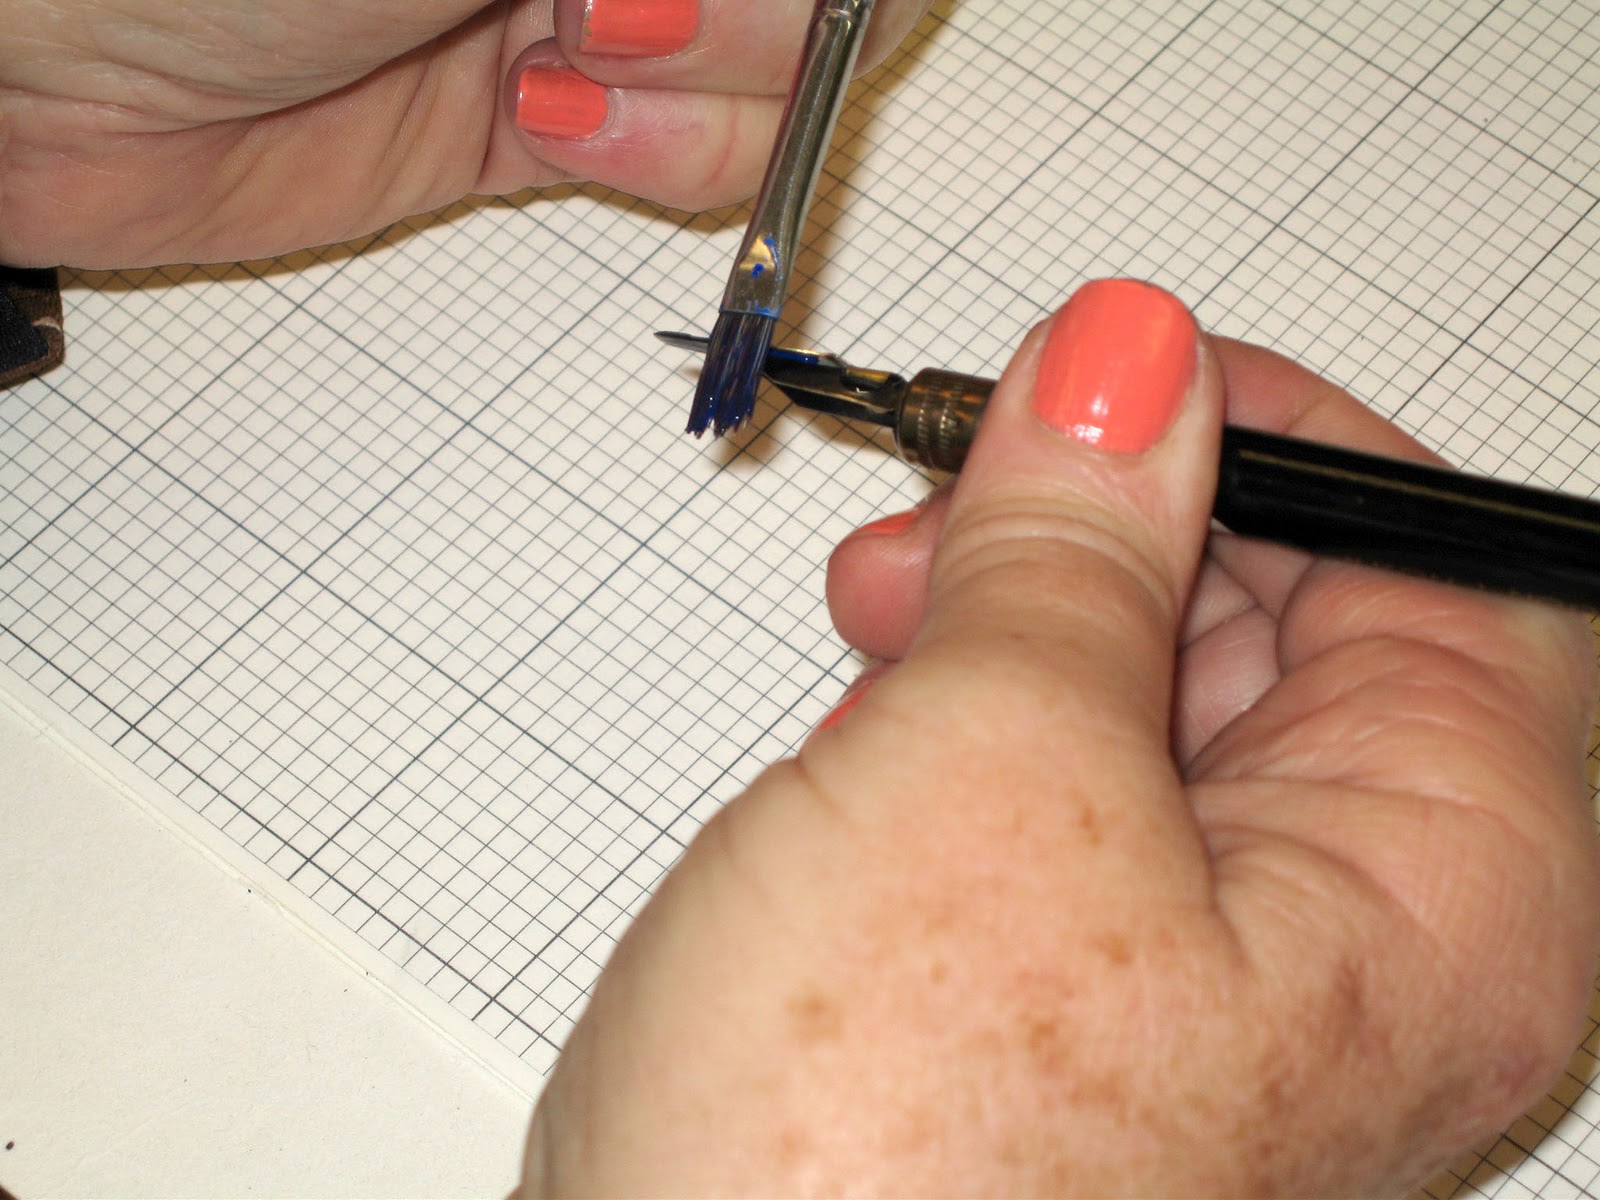
Feeding your pen with gouache by brush: Put your palette on the left – if it’s lightweight, then tape it down so it doesn’t move. You’ll have to stir the gouache each time. Hold the brush in your left hand (assuming you’re writing with your right hand). To feed your pen, brush straight across the pen to feed the reservoir. Do this over the palette so you don’t drip or splatter the paper.
 |
| Brush across the side of the nib to fill the reservoir. |
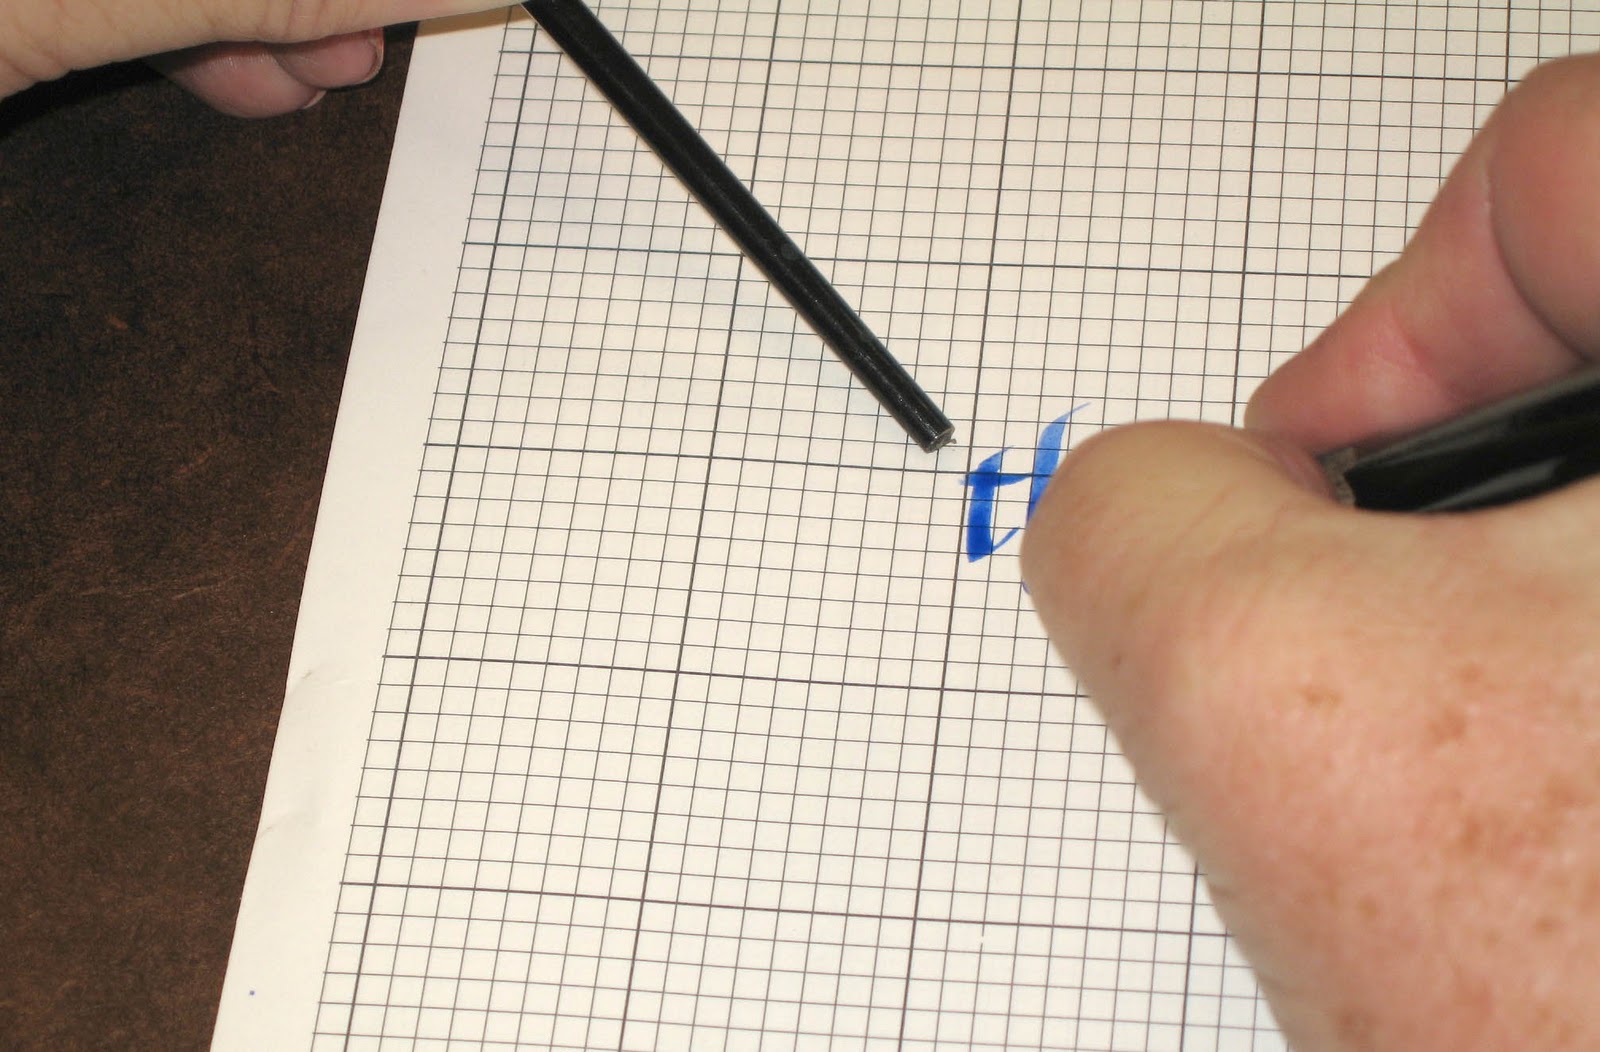
Turn the brush around and hold the paper down with the end of your brush while you write. Because gouache dries quickly, you may have to re-wet the nib – just touch it to the brush.
When writing at the small size, hold the brush in your left hand with the brush tip pointing outward while you’re holding the paper down with your left hand. Then reach over to touch your nib to the brush to fill it.
HOMEWORK: try to finish the gilding and text-writing on the project. You can work on the painting with gouache in class if you don’t finish it at home.